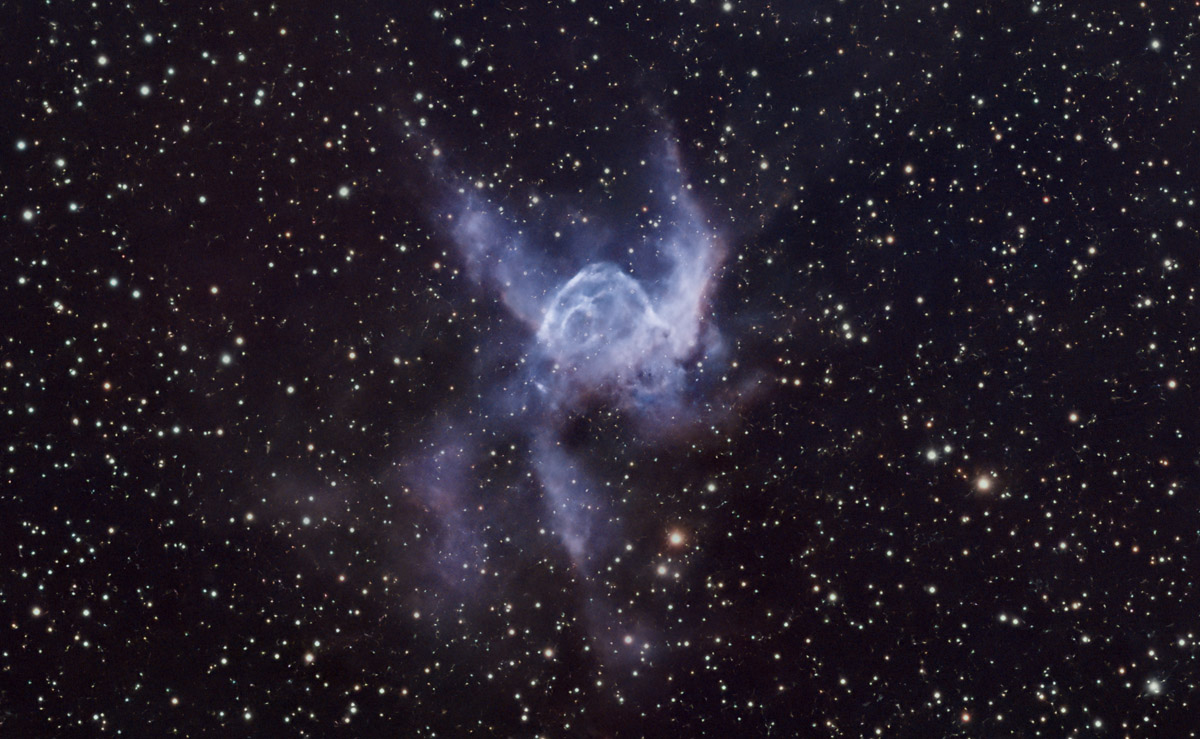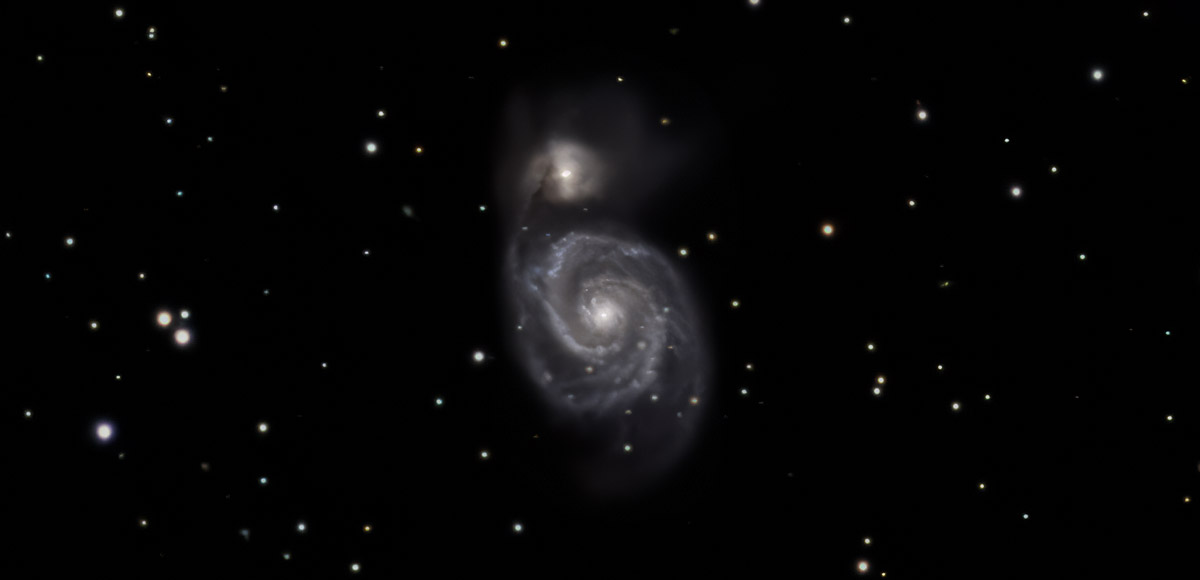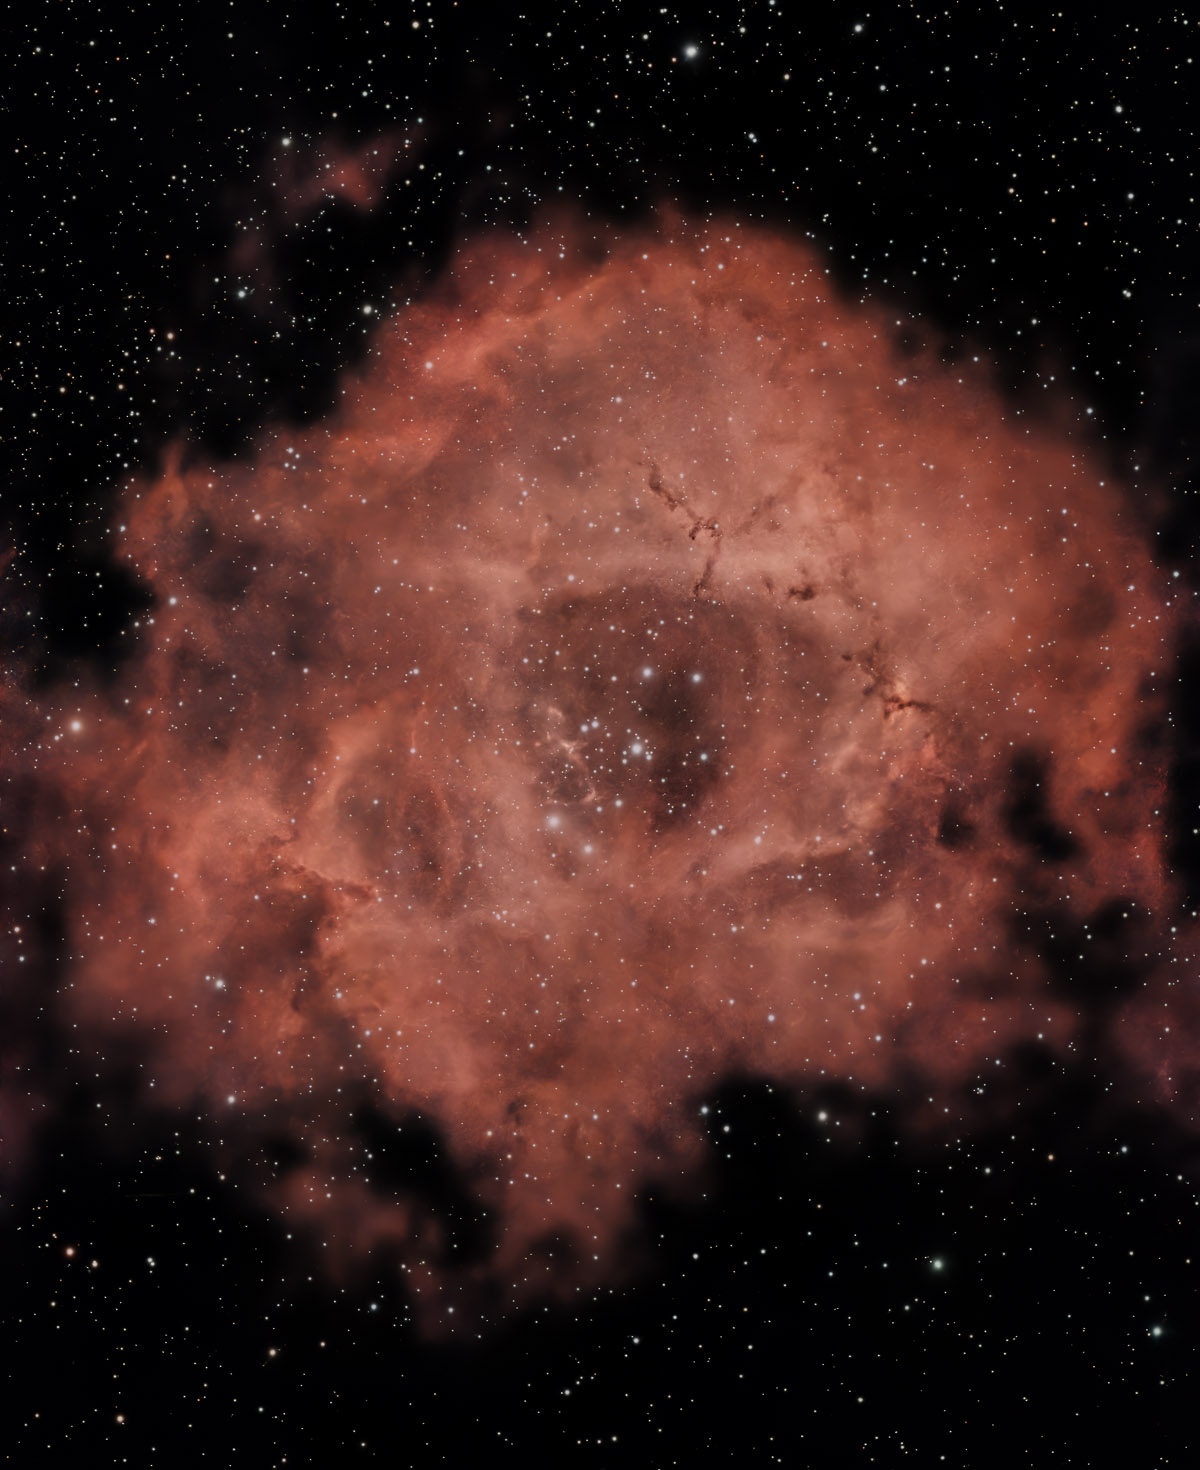


Constellation: Orion
Telescope: SeeStar S50
Primary Camera: Built into the SeeStar
Autoguider: The SeeStar's platesolving
Mount: Homemade Oak Tripod with leveler and equatorial head
Controller: SeeStar S50 built-in controller
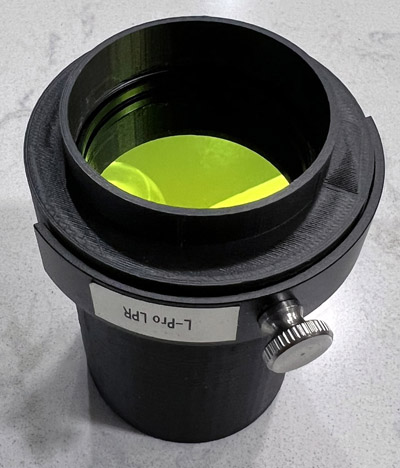
Filter: SeeStar S50 built-in LPR filter
Location: Mid Pinellas County, Florida.
Bortle: 7.5+
Mode: Equatorial
Subs: 302 subs at 30 seconds each (2 Hours, 31 minutes)
Processing: PixInsight
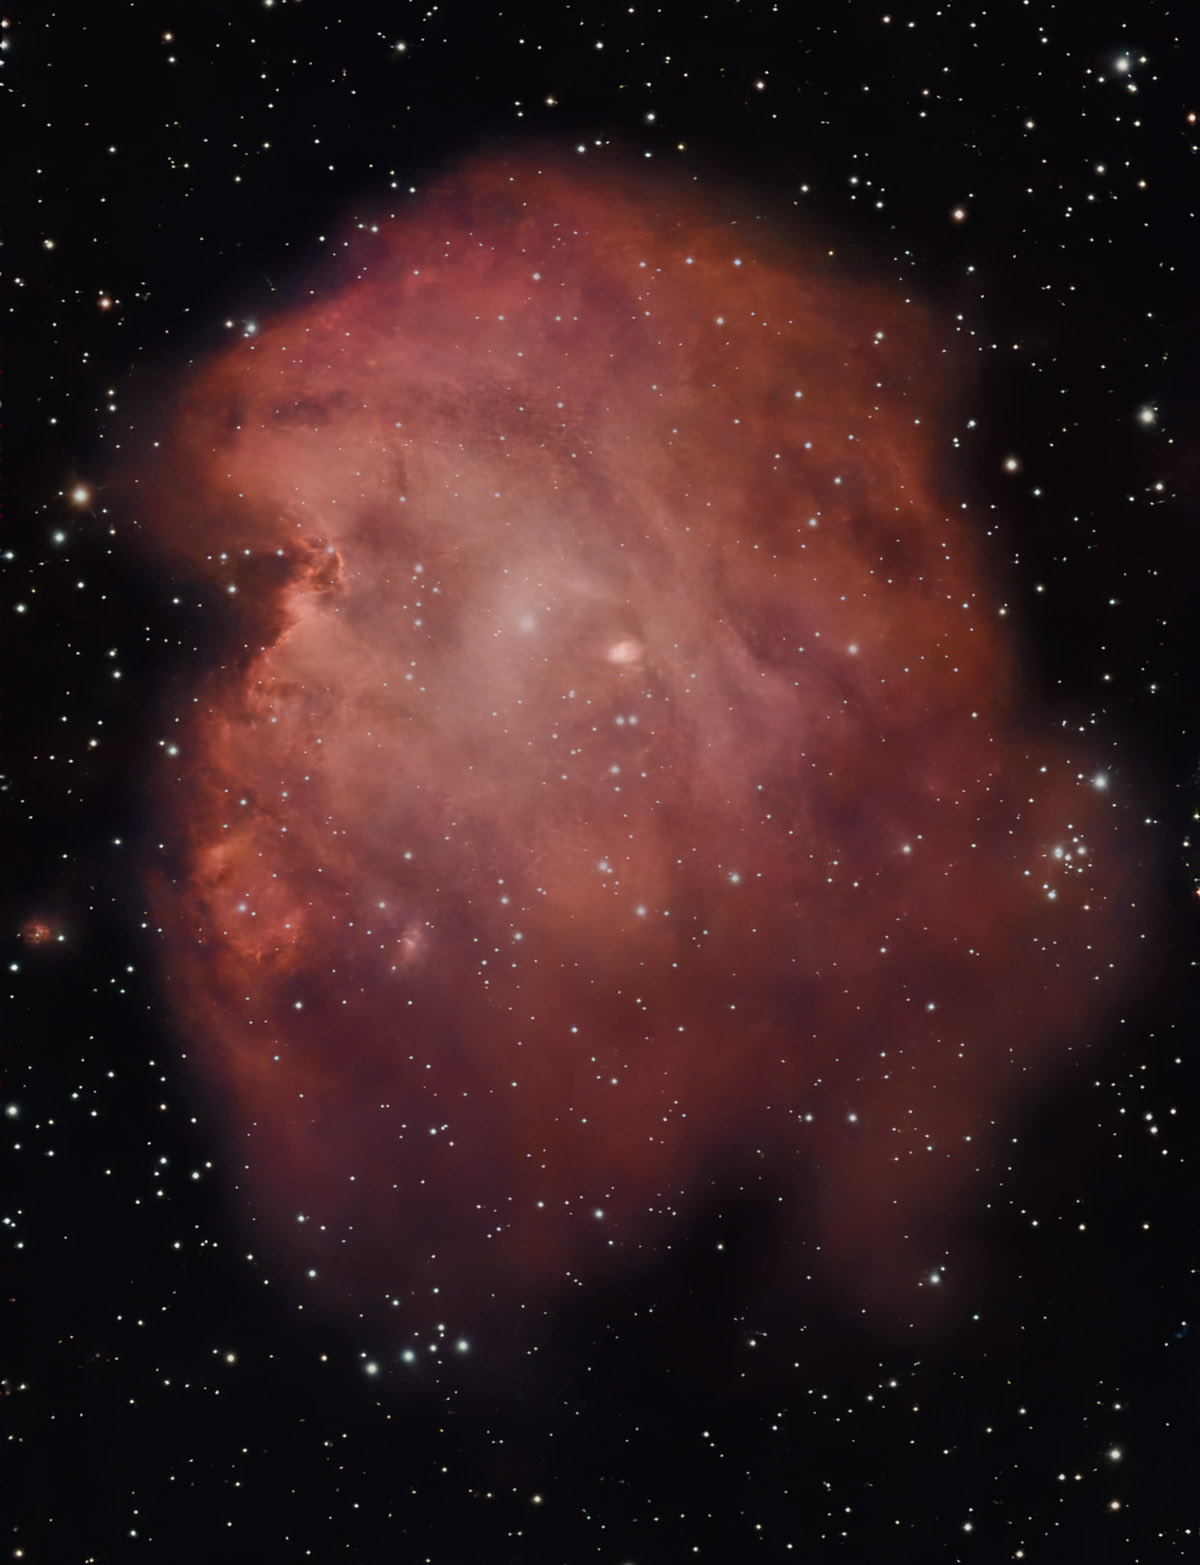
Comment: The flame (orange) and the Horsehead Nebulae.
Even a little telescope with a camera can see more than your eye. This is the Horsehead (Barnard 33 Dark nebula) after
one five minute frame compared to how difficult it is to see the horse head visually. The Horsehead is a cloud of dark gasses
blocking out the brighter nebula behind it.
Some of my SeeStar Projects
Many include 3D printer STL files.
Go directly to the S50 astro photos at the end of this page.

The SeeStar s50 is an almost fully automatic imaging telescope with about a 2" aperture (diameter of the lens). It comes with a really nice mini carbon fiber tripod and solar filter and it is all packed in a small tough foam case. Unlike traditional telescopes it doesn't have an eyepiece and you see what it is pointed at using a cell phone or tablet (not included). The software also helps you select what to point at, control the internal light pollution filter and the built-in dew heater.
The color image is built up from a series of short exposures. Generally, the longer that the s50 is on an object the clearer and brighter it becomes on the screen. In the city lights you will be able to see things that you would not be able to with a traditional telescope. The built-inb battery lasts for hours and mat be augmented with an external USB power supply (I use a generic 10,000mAh battery power pack) which is helpful if the dew heater is used.
Sample photos from my SeeStar are further down this page.
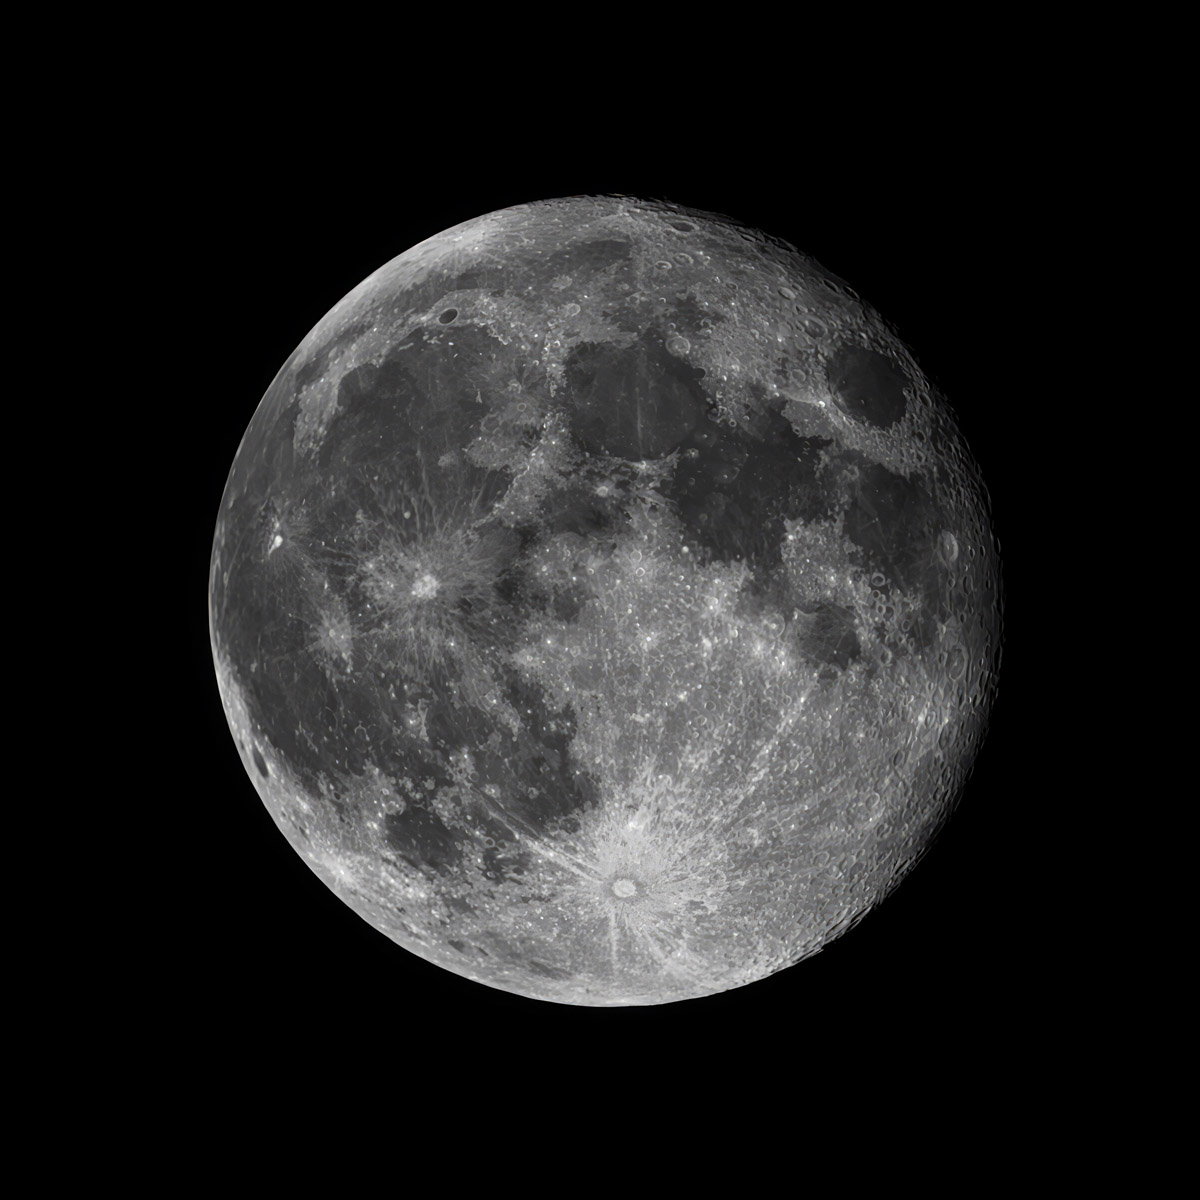
The s50 has video mode that allows you to shoot real time or time lapse. The later was handy when I shot one frame every 30 seconds of a full lunar eclipse over five hours resulting in a 20 second eclipse video. It will also work in the daylight for animal photos and videos. Software updates now allow equatorial tracking for more advanced users.
I highly recommend one of these new digital telescopes for these reasons:
➤ Ability to see faint objects as well as video things like eclipses.
➤ Reasonable cost ($400 and up). The SeeStar s50 is $550 in mid 2025.
➤ Easy to store, transport and quickly set up and pack away.
➤ Family friendly. Anyone that can look at a tablet will enjoy the images.